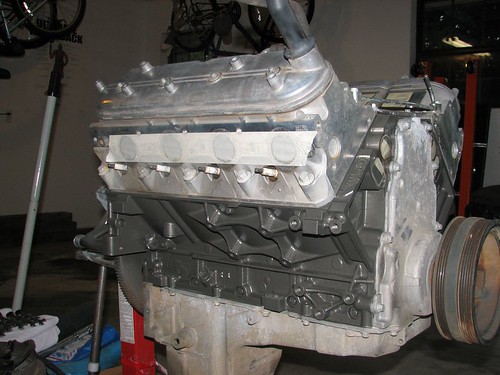
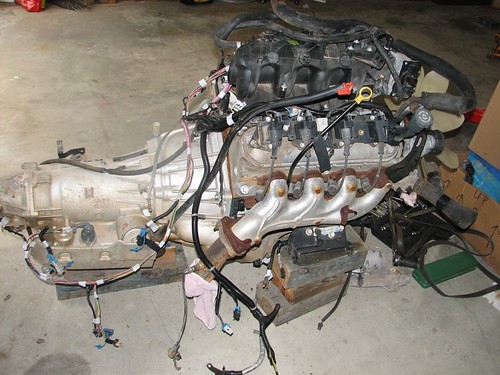
First, a pic of the recipient of this documented struggle to convert from BBC to Gen III SBC.

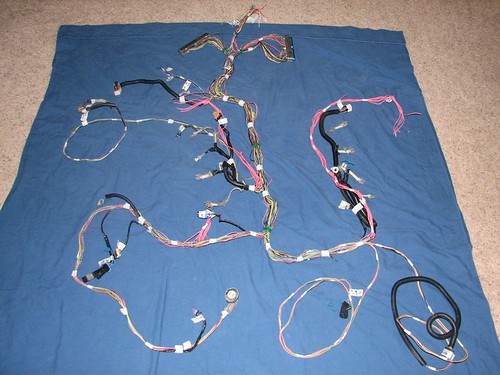
The harness from the salvage yard was not from the same truck as the engine/tranny and was somewhat damaged. I traded this harness for programming on my PCM to make it ready for stand alone operation. Purchased a 2003 6.0L/4L80E harness off truck forum classifieds. Was advertised as in new condition and complete. It arrived in that condition, best $124 I have spent on this project.
The harness from the salvage yard was not from the same truck as the engine/tranny and was somewhat damaged. I traded this harness for programming on my PCM to make it ready for stand alone operation. Purchased a 2003 6.0L/4L80E harness off truck forum classifieds. Was advertised as in new condition and complete. It arrived in that condition, best $124 I have spent on this project.
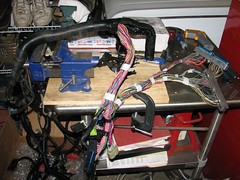
Started by removing plastic split tubing and the back endcaps for the PCM connectors.

Then I laid the harness on the engine/tranny. This helped me to figure out a few more plug ID's. Most of the info I have gotten from LT1swap.com. All the info necessary to convert a harness to standalone. I also looked at a 2004 GMC YUKON engine to figure out where some of the connectors went.
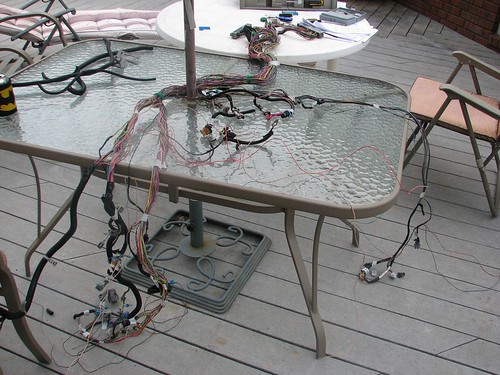
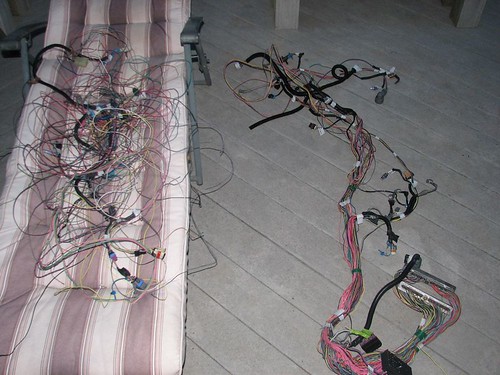
As I determined what each plug was I labeled it accordingly. After determining purpose for all but about 5 plugs I started removing pins/wires from the PCM connectors. Just use the info from LT1swap.com and it is fairly easy to do. Here are some pics of the process. Wires balled up in chair are not needed.

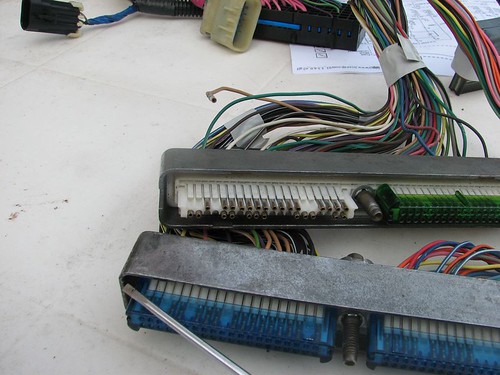
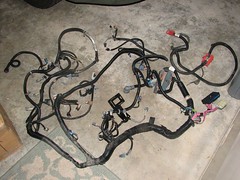
After I removed wires from PCM I then removed the unneeded plugs such as oil level, EVAP, A/C, ect. Then I Labeled all the wires that did not go to a plug. I ended up with a harness that had only the wires I need for my 64 Chevelle, all plugs/loose ends labeled as to function. All thats left is converting the Tranny plug from 4L80E type to 4L60E type, but thats another post.